DIY House Painting: Tips and Guidance for Beginners

DIY House Painting: Tips and Guidance for Beginners


When you decide to paint the interior of your house yourself you promise yourself to keep yourself busy and you save the labour charges at the same point in time. Painting it yourself is not an easy task as it will lead to various problems like exposure to chemicals; you will have to climb up the ladder to reach the ceilings and yes, you are not professional. But a person learns from doing something new. So if you take proper precautions like proper masks and gloves and ensure that the ladder is serviceable you can definitely do it yourself. All you need is to know the steps that you will have to follow in order to interior paint of your house in a correct manner.

  • Firstly, you will have to start off with SMOOTHNING OF THE WALLS:You need to affix any cracks or holes in the walls before you start with priming or painting. The smooth walls ensure professional quality results. Use patching compound or joint compound (PUTTY) according to your wall and then leave it to dry. Putty is applied with a cardboard kind of paper over the walls. Spread it equally and evenly for best results.
  • The second step that you need to take after the putty dried up is to SAND UP THE WALLS:You need to sand your walls with the help of sandpaper (100 or 120 grit would be enough). After the putty is dried up you need to take sandpaper and rub it over the wall so that it will smoothen up and any uneven surface (if left) would become even.After you have made your walls smooth just wipe off the dust with the help of a drop cloth so that any dust particles do not interrupt you while priming or painting.
  • The third step after the sanding process is PRIMING:After you have smoothened up your walls you need to apply primer to your wall. Paint along the edges first and then slowly cover up the rest of the wall. Ensure that you evenly spread the primer on the walls. Even spreading of primer would ensure a proficient look after the paint is done. Use a roller for priming. Work on one section of the wall to ensure that the wall is properly covered. Primer is always applied vertically with a w-shape on the walls. Once you have completed priming leave it to dry for at least 24-36 hours and make sure that the room is well aerated.
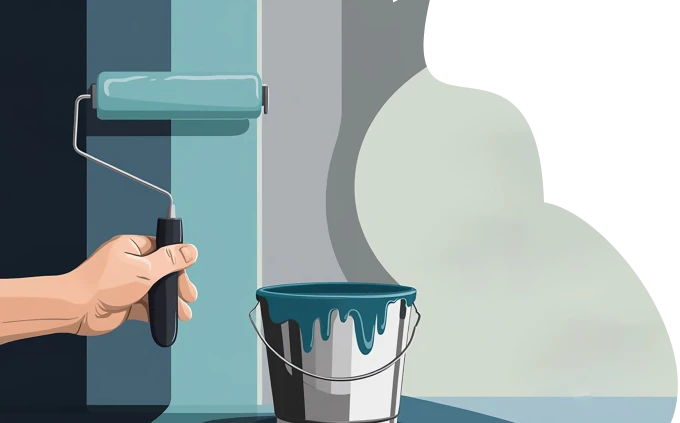
  • The last step involves PAINTING:Finally, you have reached the most interesting as well as the last step of your painting procedure. Select a colour theme first and then select the exact colour from the colour shade list. Make sure that you choose the perfect colour for your wall that would soothe your eyes for a long period of time because the paint on your wall is not going to be changed in short intervals. So after you have selected the perfect colour, dip your roller in the paint and get set go. Just like you applied the primer on the walls, apply paint on the walls. Make sure that you do it evenly because the beauty of painting lies in its evenness. Done with painting? Let it dry for at least 24-36 hours and make sure that the room is well aerated.

PRECAUTIONS:

Always remember that you take these safety measures while painting your walls:

  • Cover the furniture and doors with some old bedsheets so that they are not spoiled with the paint. Cover lamps etc. with painter’s tape.
  • The ladder that you use to reach the ceilings should be serviceable.
  • Use gloves and masks to prevent contact with chemicals.
  • Do not leave the paintbrushes bare on the floor.
  • Do not leave the paint bucket open on the floor as it may fall if somebody steps on it thereby creating a mess.

#HAPPYPAINTING


13-Nov-2020
1,734 View(s)

More Related Posts: